If you’re using Salesforce to track your sales activity, and the activities of your leads and contacts, then you should definitely be utilizing Salesforce’s Campaign functionality.
There are two main reasons to do this:
- It’s an easy way to collect information about the various ways you’ve interacted with a prospect over time, which will then be available to you at a glance when you view that prospect’s Salesforce record.
- You can tie marketing to actual revenue, so you can see which marketing efforts are giving the most back to you in terms of sales.
Campaigns, in brief
First, here’s a brief overview of Campaign functionality, in case you’re unfamiliar with Campaigns entirely.
Campaigns are Salesforce’s way of keeping track of your company’s marketing efforts. They should be used to track higher-level marketing touchpoints and engagements.
Campaigns have associated Campaign Members: a collection of leads and contacts. When you convert a lead to a contact, that person’s campaign memberships are retained. The Campaign History related list on a lead or contact record shows you a list of that person’s campaign memberships.
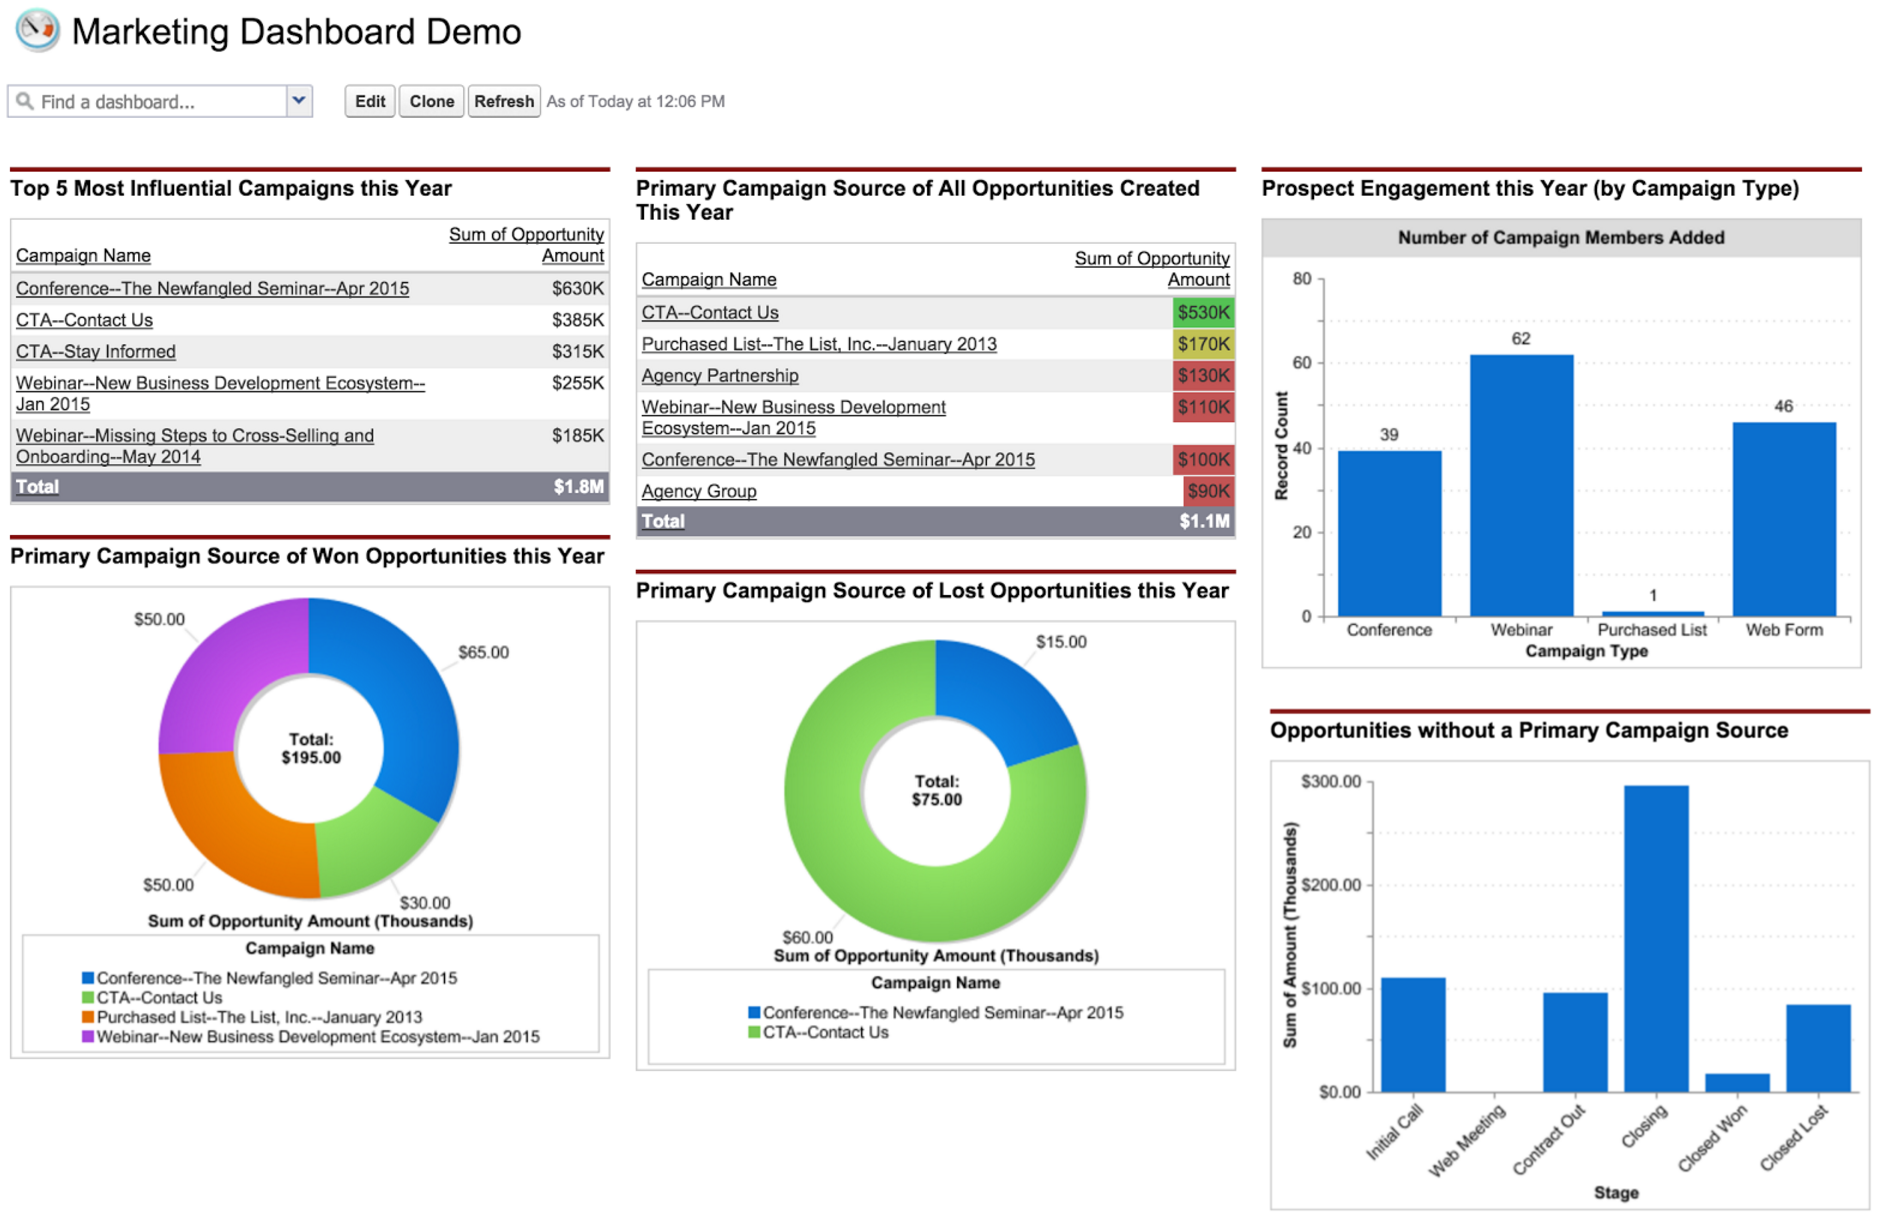
You are ultimately tracking your marketing efforts in Salesforce so you can see how specific marketing touchpoints influence your sales opportunities. The way to do that is through the Campaign Influence feature, which allows you to note which Campaigns influenced a specific opportunity.
The Primary Campaign Source field allows you to designate the most influential Campaign for that opportunity. Setting a Primary Campaign Source will attribute 100% of the revenue from that Opportunity to the designated Campaign.
What should be considered a Campaign?
Here are some examples of marketing efforts we would consider eligible for Campaign status:
- Website calls to action
- Speaking engagements
- Conferences
- Webinars
- Purchased lists
Really, it’s up to you to decide what you consider to be a Campaign. In general, if you’re considering tracking something using campaigns, ask yourself the following: “If I’m in conversation with someone, will it be helpful to know if they [attended this conference; received this mailer; filled out this form]?” If the answer is yes, then go for it!
As for what shouldn’t be considered a campaign, the one example I often use is email blasts that get sent with any regularity, or anything in a similar vein. For example, your newsletter signup call to action would have an equivalent Campaign, but you wouldn’t want to make every monthly e-blast you send promoting your newsletter a Campaign as well. It’s redundant, since the CTA campaign implies that the prospect will be receiving those emails, and it will introduce a lot of clutter into your Campaign History related list.
Setting up a Campaign
There are a few fields to pay attention to when setting up campaigns in Salesforce.
The only field you’re required to fill in by default is Campaign Name. I would recommend deciding on some naming conventions. For web forms, normally something like “Contact Us Form” works fine. For anything that has a specific date associated with it, I normally like to include that in the Campaign name, as well. Our webinars campaigns are formatted like this: Webinar–Name of Webinar–Month/Year; e.g., “Webinar–Salesforce For Beginners–Nov 2013.”
Salesforce supports parent/child relationships for campaigns, so you can associate smaller campaigns with a larger initiative.
The next field I recommend setting is Campaign Type, which assigns the campaign to a category. This will allow you to pull list views and reports filtering on specific types of campaigns. Salesforce has a standard list of picklist values for this field that work for many common situations, including “Web Form” and “Seminar/Conference.” But remember, as with any other picklist in Salesforce, those values are editable. If you can’t find a standard value that fits your scenario, add one in.
You’ll also want to customize the Member Status values for your campaign. Member Status values are the statuses that any lead or contact has for that campaign, and they allow you to track response rate. For instance, our Member Status values for our webinar campaigns are “Registered” and “Attended.” For web forms, our only status is “Responded.” To edit, click the “Advanced Setup” button on the campaign detail page, and then click ‘Edit.’ You can click the ‘Add More’ field to add more values, or you can edit the current values (if there are no members that already have those statuses attributed). Set a default value, and check the “Responded” box for any values that should count toward response rate.
Note: The “Clone” button at the top of a campaign record allows you to create a new campaign while retaining certain information from the original campaign, including Type, Member Status values, and Description. This is helpful if you frequently create similar types of campaigns.
Here are a few other fields you’ll want to think about setting.
- Status: This field tracks the lifecycle of a campaign. Is it completed? In progress? This is a picklist, so there are standard values here that you can edit. You can even edit which value is the default (Salesforce’s standard default is ‘Planned’).
- Active checkbox: Is the Campaign currently active? Salesforce has some preset lookup views that use this checkbox, so it’s helpful to set, but ultimately not all that important.
- Description: This is another field that’s helpful to set, but not entirely necessary. It’s up to you.
- Start & End date: For things like web forms, you don’t really need to set any dates (unless you’d like to set your go live date as the start date), but I like to set these for anything that is date-specific, like conferences or webinar registration periods.
Adding Campaign Members
There are a number of ways to add leads and contacts to a campaign as campaign members.
You can add a lead or contact to a campaign manually, by clicking the “Add to Campaign” under the Campaign History related list on the lead or contact record.
You can also use reports or list views to add multiple leads or contacts to a campaign; you’ll see an “Add to Campaign” button on the report or list view page.
The “Manage Members” menu on a campaign detail page also features a number of options for adding members, including file import.
You can set up your web forms to populate campaigns, either through a Web-to-Lead integration, an API integration, or a third-party integration. Our site pushes all our form data to Act-On, which then sends the appropriate information to Salesforce.
Campaign Influence
The last piece of the puzzle is being able to tie your marketing efforts back to actual revenue, using the Campaign Influence feature.
From the Campaign Influence related list on an opportunity record, you can designate any number of campaigns that influenced that deal.
When you add a Contact Role to an Opportunity, all of that Contact’s campaign memberships are listed under the Campaign Influence related list on the Opportunity. You can also designate any Campaign as influential by using the “Add to Campaign” button on the Opportunity detail page.
From the Campaign Influence list, you also have the ability to designate any influential Campaign as the Primary Campaign Source, which attributes 100% of the revenue from that Opportunity to the designated Campaign, should you win that opportunity. If you don’t win the opportunity, the relationship will still be recorded on the campaign record so you can see how many opportunities in total (won or lost) were primarily influenced by that campaign.
Primary Campaign Source can be set both manually and automatically. If you convert a Lead to a Contact, and create a new Opportunity upon conversion, Primary Campaign Source will automatically be set as the latest Campaign that Contact is a member of.
Related Posts
-

Are you keeping track of your marketing efforts and how they’ve directly contributed to your…
-
In this white paper, five of Newfangled’s top category experts weigh in on what we…
-
Because we're watching each individual account so closely and are also constantly amassing a data…